The thing we missed most from our sticks & bricks? Our bidets. After over a year without them, we finally upgraded our toilet so that it could handle the bidet, and our bottoms thank us everyday.
I’ve been waiting so long to be able to write this post. We’ve been planning to add a bidet to one of our RV toilets since we bought the rig (almost 2 years ago). We even had the bidet, but we just couldn’t wrap our heads around how to make it work.
In December, Brandon finally had enough and decided to try to attach the bidet only to find that there’s not enough room between the hump in the back of the standard RV toilets and where the seat attaches. We went so far as to cut the bidet so that it would fit, but then we were worried it wouldn’t hold up. So, after a days work, we gave up and decided to look into other options. It seemed the best option was the replace the toilet with a different model (one without the hump), but we had two perfectly fine toilets. Did we want a bidet that bad?
Brandon did, and he was ready to pull the trigger, when fate intervened and gave us no choice. Just two weeks later (due to completely unrelated circumstances), we found our main bathroom floor covered in water.
The last time this happened it was the rubber gasket on the bottom of the toilet. This time it was the water valve. Instead of shutting off after adding the little bit of water, it just kept filling. As always happens, it was 10pm on Christmas Eve so the easiest way to solve the problem was to grab the toilet out of our other bathroom (which we weren’t using) and swap.
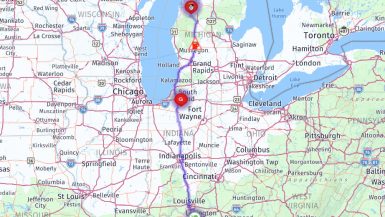
Brandon put a cut-off on valve the pipe in the second bath and moved the one working toilet to the big bathroom and we planned to order a replacement toilet the next time we were sitting still for a few weeks. We’d planned for that to be Texas but with the snow/ice storm and then RV maintenance class we just didn’t have the time. So, we waited until we got back to Guntersville again.
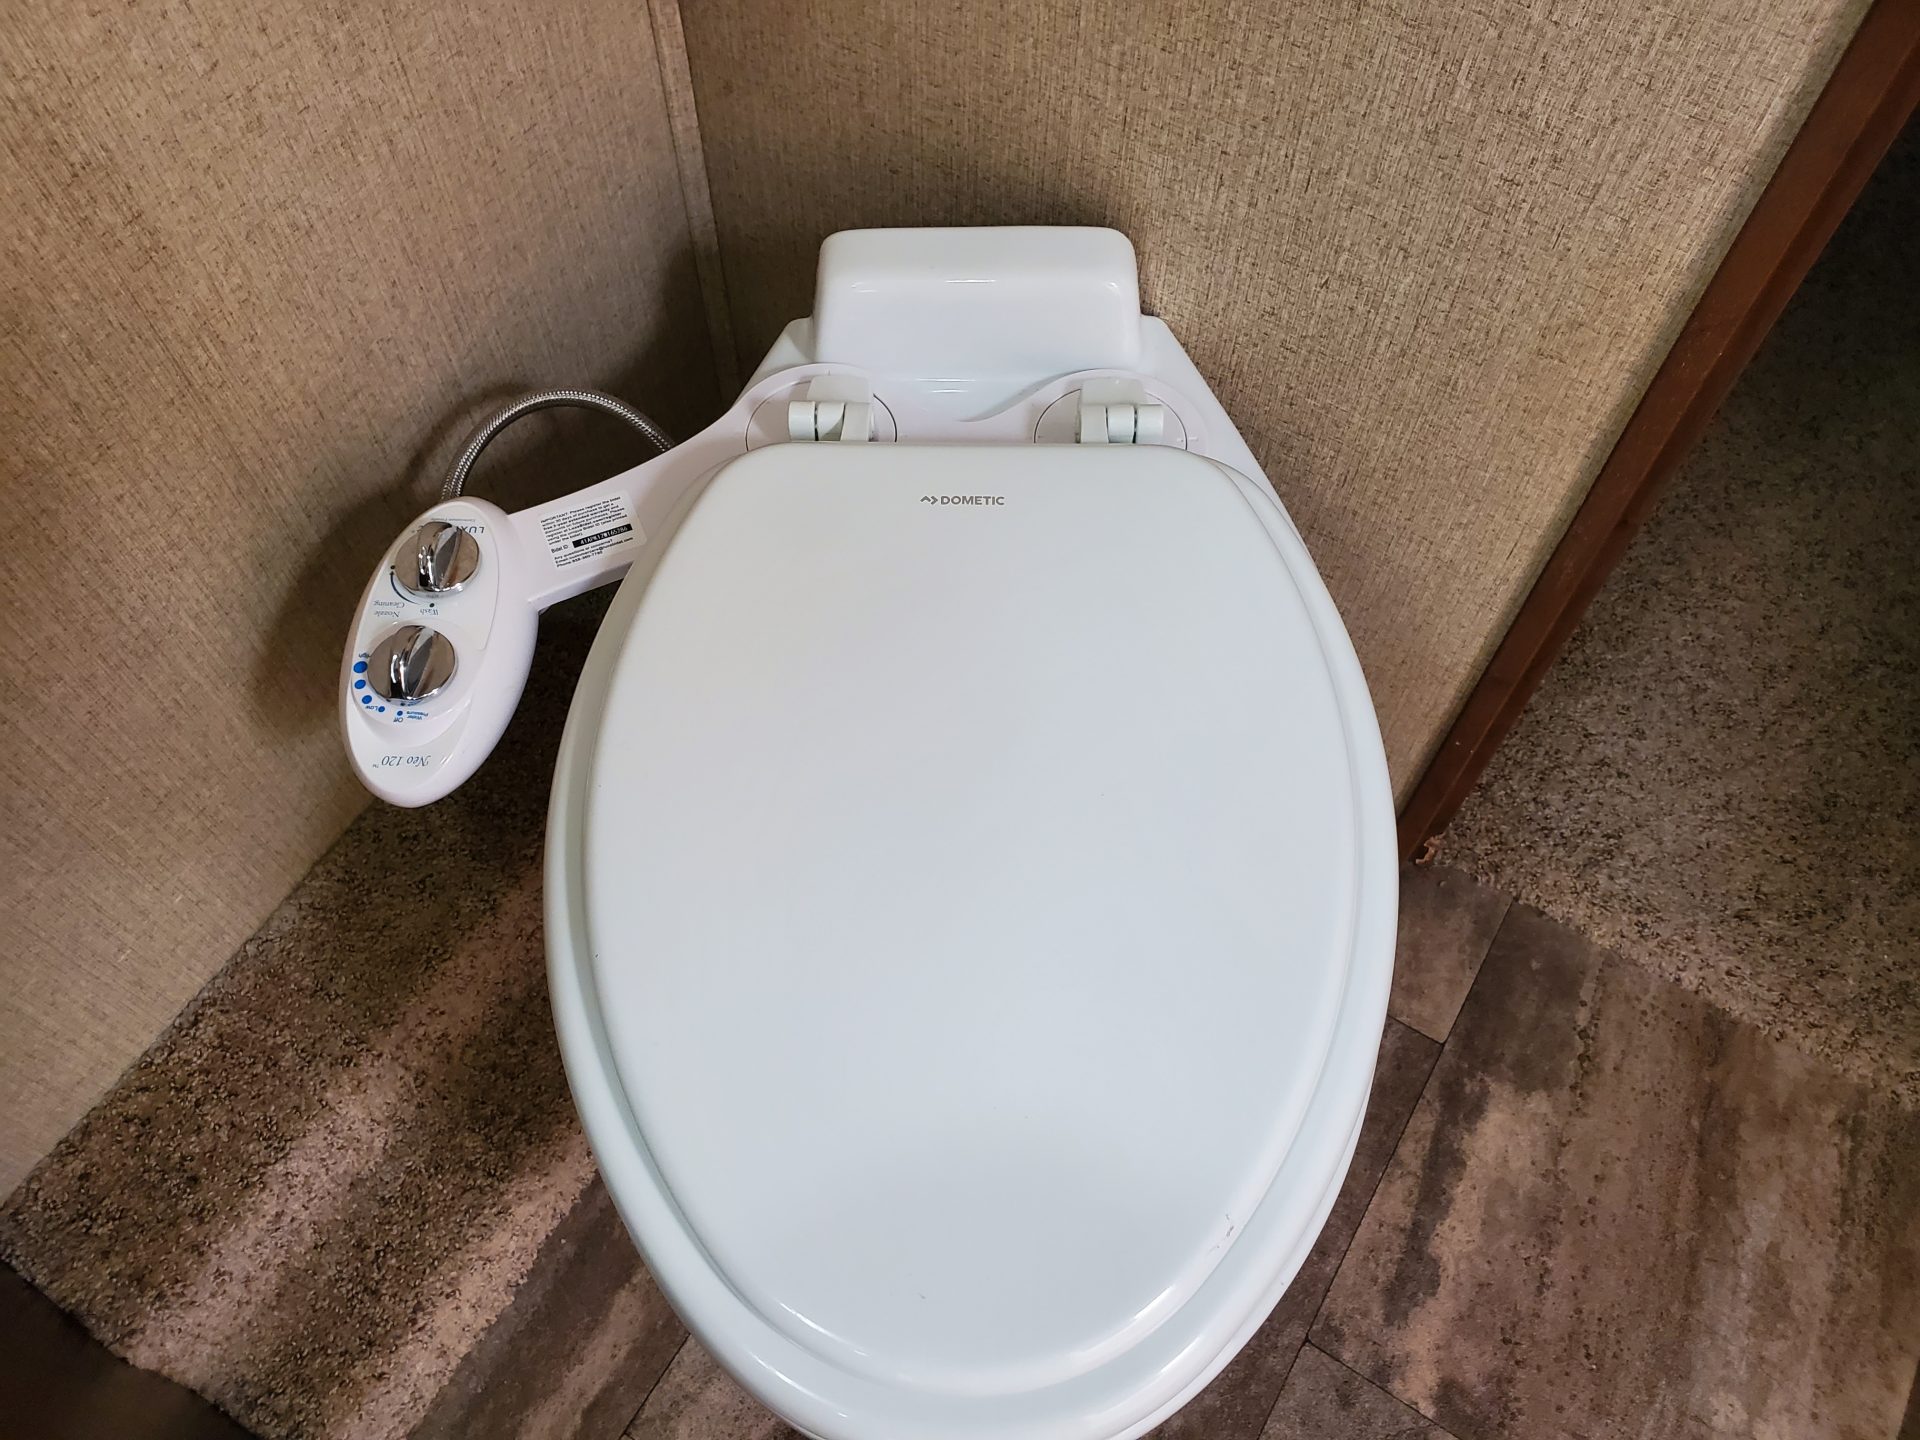
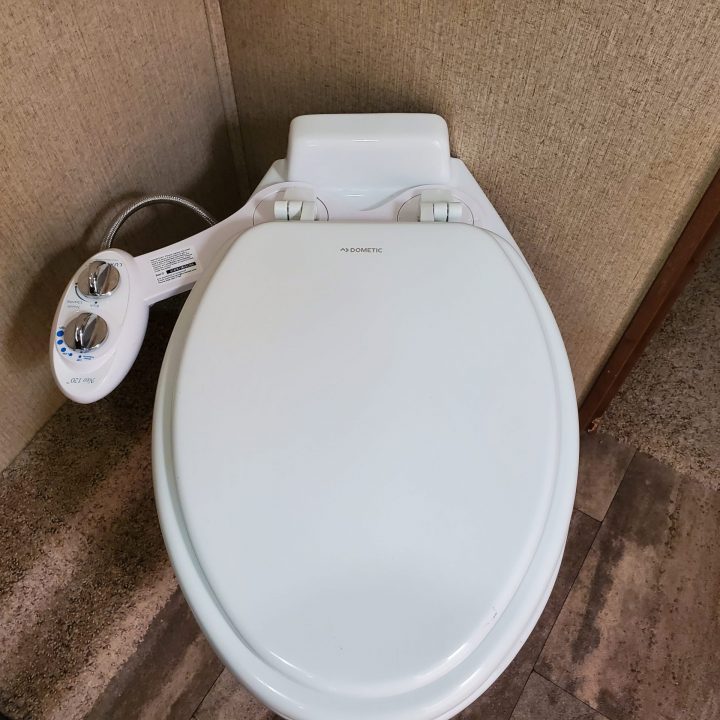
Our research indicated that the best RV toilet for a bidet is the Dometic 320. This toilet is larger than standard RV toilets, it had a porcelain base, and allows for a real toilet seat, and enough room for the bidet attachment.
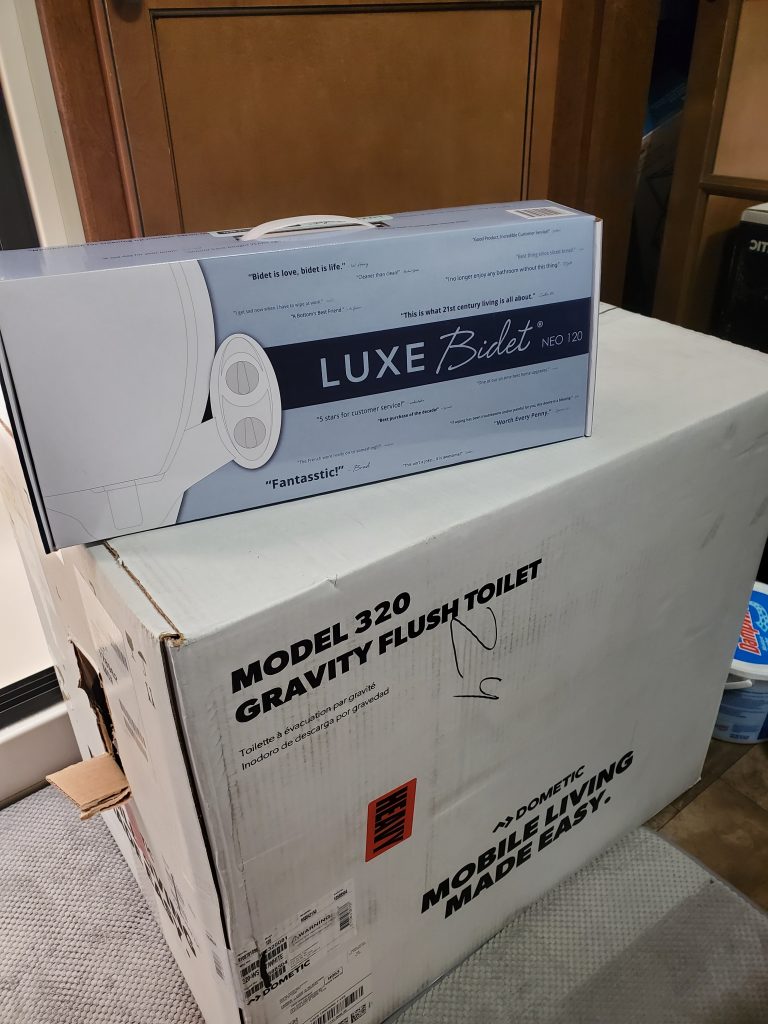
We’d had Luxe Bidet attachments in our houses, they are affordable and easy to install, so that’s what we went with again. From there it was a matter of buying some Pex pipe and the various pieces needed to install a splitter on the toilet water inlet pipe.
Bidet Myth: The #1 thing we see/hear when we mention the idea of adding a bidet to the RV is that it will increase our water use and cause our black tank to fill up faster. If you are using your RV toilet properly, you are already filling the tank before you poop (or at least before you flush). A bidet simply helps in that process (and cleans your butt at the same time). After over a month with our new bidet, we have not needed to empty our tank any more often.
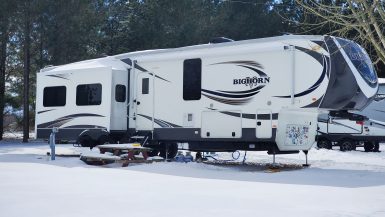
Shortly after we arrived in Guntersville, our toilet and bidet appeared. And, as soon as it stopped raining we got to work. Overall, the project took us about 1.5 hours to complete.
Installing the bidet in our RV
Scroll on down for the (very detailed) printable instruction sheet for step-by-tiny-step instructions.
Step 1: Remove the old toilet. This is a pretty easy task that requires minimal tools. We did end up having to cut the Pex pipe that comes in from the floor because the existing clamp couldn’t be easily removed. You may want to install a sewer cap to prevent any odors from escaping into the rig while you are working. Be sure to place the old toilet directly into an industrial strength garbage bag to avoid any mess.
Step 2: Attach bidet to the new toilet using instructions provided with the bidet (we actually did this while doing Step 1, since there are two of us. You could also do this prior to removing the old toilet). It really just depends on how much room you have.
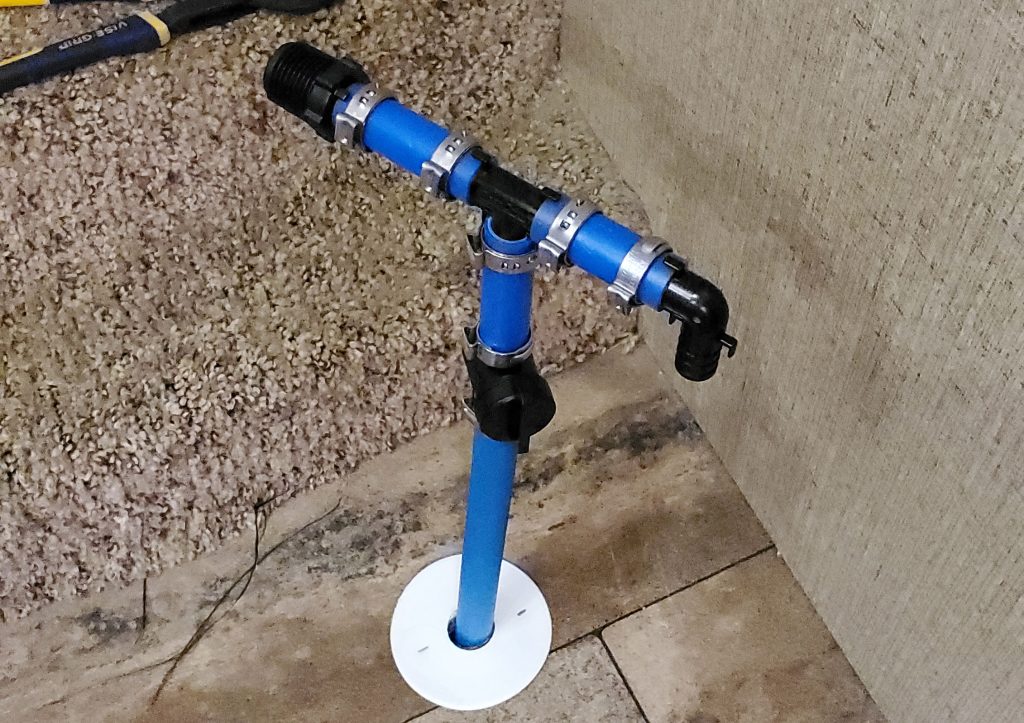
Step 3: Use Pex pipe to create a T from the water-inlet. One side will attach to the bidet, the other to the toilet inlet. You may want to add elbows at one (or both) ends of the T depending on where your water connections are and how much room you have.
Step 4: Position new toilet in place and hook up toilet and bidet to appropriate lines.
Step 5: Test the water lines for leaks. We usually wrap all the lines in paper towels, leaving one person to watch for any leaks while the other turns on the water. Once we’re comfortable there are no leaks we remove the paper towels and continue.
Step 6: Test the bidet to make sure it’s positioned correctly (you’ll want to be sitting down for this, or you’ll be cleaning up a wet mess on the wall across from the toilet).
Step 7: Enjoy your clean tushy!

How to install a bidet in your RV
How to upgrade your RV toilet and add a bidet
Materials
- Dometic 320 toilet
- Luxe Bidet
- SharkBite 1/2-in dia x s10-ft PEX-B Pipe (Blue) - 1ft used
- SharkBite 1/2-in dia Stainless Steel Pinch Clamp Ring (9 used)
- Sharkbite 3/4-in x 3/4-in x 1/2-in dia Plastic Tee
- SharkBite 2-Pack Polymer 1/2-in PEX Barb Ball Valve
- SharkBite 1/2-in x 1/2-in dia 90-Degree Plastic Elbow (optional)
- SharkBite 1/2-in x 1/2-in dia Brass Male Adapter (2)
- Fluidmaster Universal 20-in Braided Stainless Steel Flexible Faucet Supply Line
- Oatey Gripper 4" dia Schedule 40 Plug (optional)
Tools
- SharkBite 3/8 to 1-in PEX Tool
- Sharkbite 1/2-in to 1-in Pex Cutter Pipe Cutter
- adjustable socket wrench
Instructions
- Remove new toilet & bidet from boxes
- Remove toilet seat from new toilet
- Place bidet attachment onto toilet (following directions provided in bidet box)
- Attach braided metal pipe (that came with the bidet) to the back of the bidet
- Replace toilet seat
- Cut off water to rig and drain lines
- detach water line from back of toilet
- Remove bolt covers from toilet base
- Use appropriate socket or wrench to loosen and remove nuts
- Remove toilet and place in heavy duty garbage bag (to avoid leaking water) - remove from working area
- Cap sewer pipe using the Oatey plug
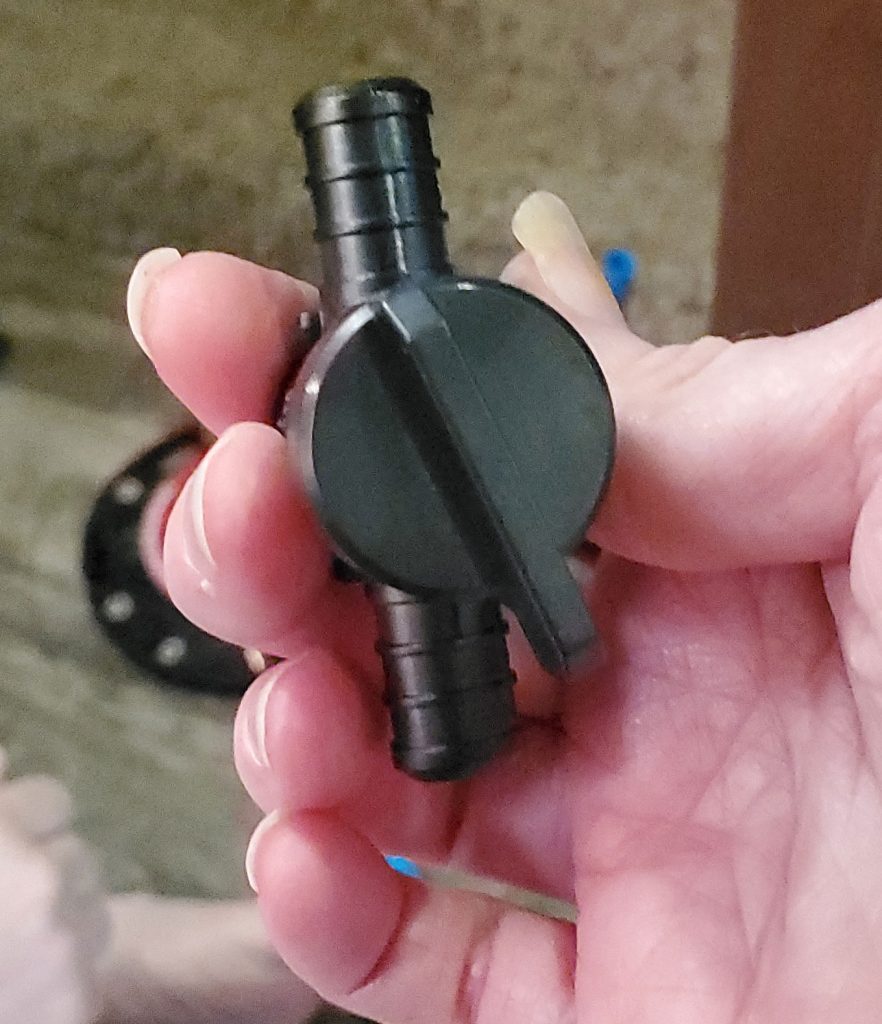
- Use clamp to attach Barb Ball Valve to existing exposed Pex pipe (if desired, this will give you an easy shut off at the toilet should you need it in the future).
- Make sure that the valve is in the OFF position
- Turn on water to test valve
- Turn water back off
- Cut 4 - 2 inch pieces of pex pipe
- Use clamps to attach plastic T to one end of the 2" pieces of Pex pipe
- Use clamps to attach to the open end of the Pex Pipe to the Ball Valve
- Use clamps to attach the remaining two pieces of Pex Pipe, one on each side of the T
- Use clamps to attach a 90-degree plastic elbow to the Pex pipe on the right side of the T (optional)
- Use clamps to attach one brass male adapter to the open Pex pipe on the left side of the T
- Use clamps to attach 2" piece of Pex Pipe to plastic elbow (optional)
- Attach brass male adapter to open end of Pex Pipe
- Seat toilet on toilet bolts and tighten nuts
- Attach braided steel supply line to brass male adapter on one end and toilet in-flow on the other end
- Attach open end of braided supply line from bidet to the brass male connection on the left side of the T
- Turn water on at main and turn ball valve to on position
- Test for leaks
- Test bidet
Recommended Products
As an Amazon Associate and member of other affiliate programs, I earn from qualifying purchases.
-
 Dometic 302320081 320 Series Standard Height RV Toilet, White
 -
 LUXE Bidet Neo 120 - Self Cleaning Nozzle - Fresh Water Non-Electric Mechanical Bidet Toilet Attachment (blue and white)
 -
 SharkBite 23100 3/8-1 Pex Crimp Tool
 -
 SharkBite TV205292 23369A PEX Cutter Tool, Metal
 -
 SharkBite U870B100 PEX Pipe 3/4 Inch, Flexible Water Tube, Pot, BLUE
 -
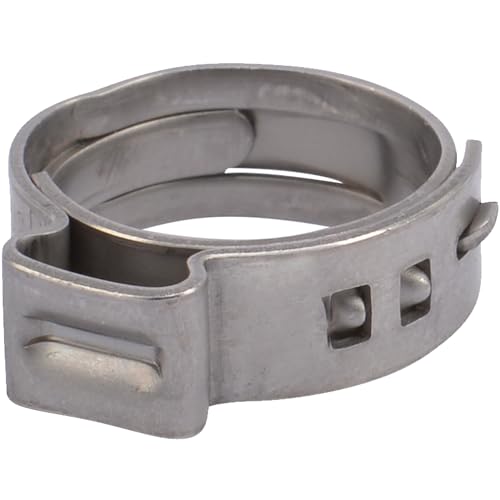 SharkBite UC953A PEX Clamp Ring 1/2 Inch, Stainless Steel, Pack of 10

I used a alpha xj seat from bidet King and add a extension to to water fill on back of the toilet /plastic pipe and hose for room for tank on back of seat . This way I heated water, seat,air dry ,child function, women,2 others. Works great. Put t an hose hookups as well to rinse black tank on both toilet’s
My concern is how well the Bidet will hold up to the RV ride while traveling, with the control hanging out on the side.The chance of it cracking and possibly break
We are a year and a half into having our bidet with plenty of travel along the way and it’s shown no issues. There’s really no reason why it would crack or break, any more than anything else in the RV would as it rides.
I’m confused by the “Sharkbite 3/4-in x 3/4-in x 1/2-in dia Plastic Tee.” If that’s accurate, why did you transition from the 1/2″ incoming PEX tubing to 3/4″? And then how did you transition back to 1/2″ for the elbow and the 1/2″ male adapter at each end of the tee? Was the tee actually 1/2″ x 1/2″ x 1/2″?
I think you caught an error on our part and it was actually a 1/2″ by 1/2″ by 1/2″ tee